Commander Series Article by Doug Chaltry; last updated 31 October 2007.
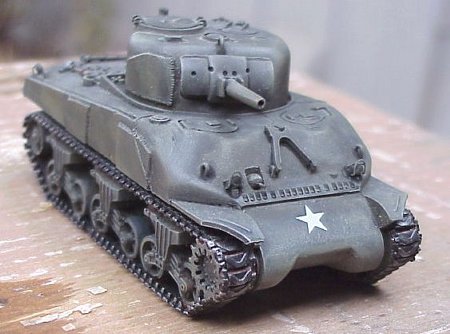
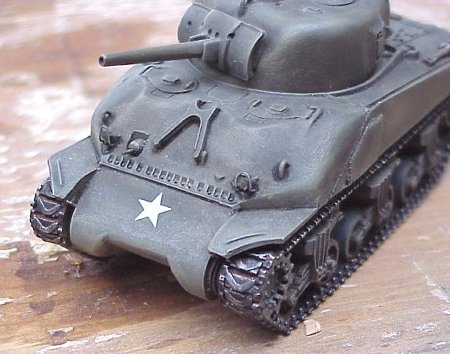
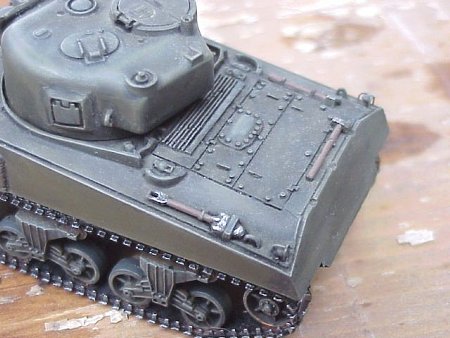
This is a complete (almost) resin kit of a fairly esoteric version of the Sherman. The M4A6 was an experimental tank, and never used in combat. It was used only by training units in the US. The kit is basically a kitbash between the ESCI M4A1 and M4A3 Sherman hulls, to produce a composite hull style. Changes were also made to the engine deck to correctly represent the A6 version. Applique armor was attached to the hull sides and turret, with excellent simulation of the welds. Although the model-maker combined the ESCI M4A1 and M4A3 hulls, the real vehicle was actually based on the M4A4 hull, which was a lengthened-hull version. Because this kit is based on the ESCI Sherman kits, it is too short to accurately represent the lengthened hull of the M4A6. The kit consists of six parts: the hull, two wheel/track assemblies, the turret, gun mantle, and gun barrel. Although it is such a simple kit, there is a great level of detail to the parts, thanks mainly to the high quality of the ESCI parts to begin with, but also the model-maker did a great job on the new engine deck. All hatches are molded closed, because this is a solid body kit. The turret and hull each had large pour-blocks of resin on their bottom surfaces, which are easiest to grind off with a mototool.
A couple of pioneer tools are molded onto the hull. Headlights and headlight guards, and the hull machinegun need to be fabricated by the model builder. I also cut off the solid representations of lift rings on the turret and hull, and replaced them with bent copper wire. I made the headlights from styrene and the headlight guards from brass wire. Each set of bogie wheels, idler wheel and sprocket wheel were one piece, held together by the tracks. The piece was cast with a backing of thin resin flash that was easy to remove, as long as one did it carefully and patiently. I believe that the cannon barrel on my kit was short-shot, but I never took out a ruler to measure. I drilled a hole in the end of the barrel, and that's pretty much all I did for this kit.
I painted the tank in the standard US Olive Drab (Polly Scale), and added a single star on the forward hull from a Microscale sheet (no decals are included with the kit). |